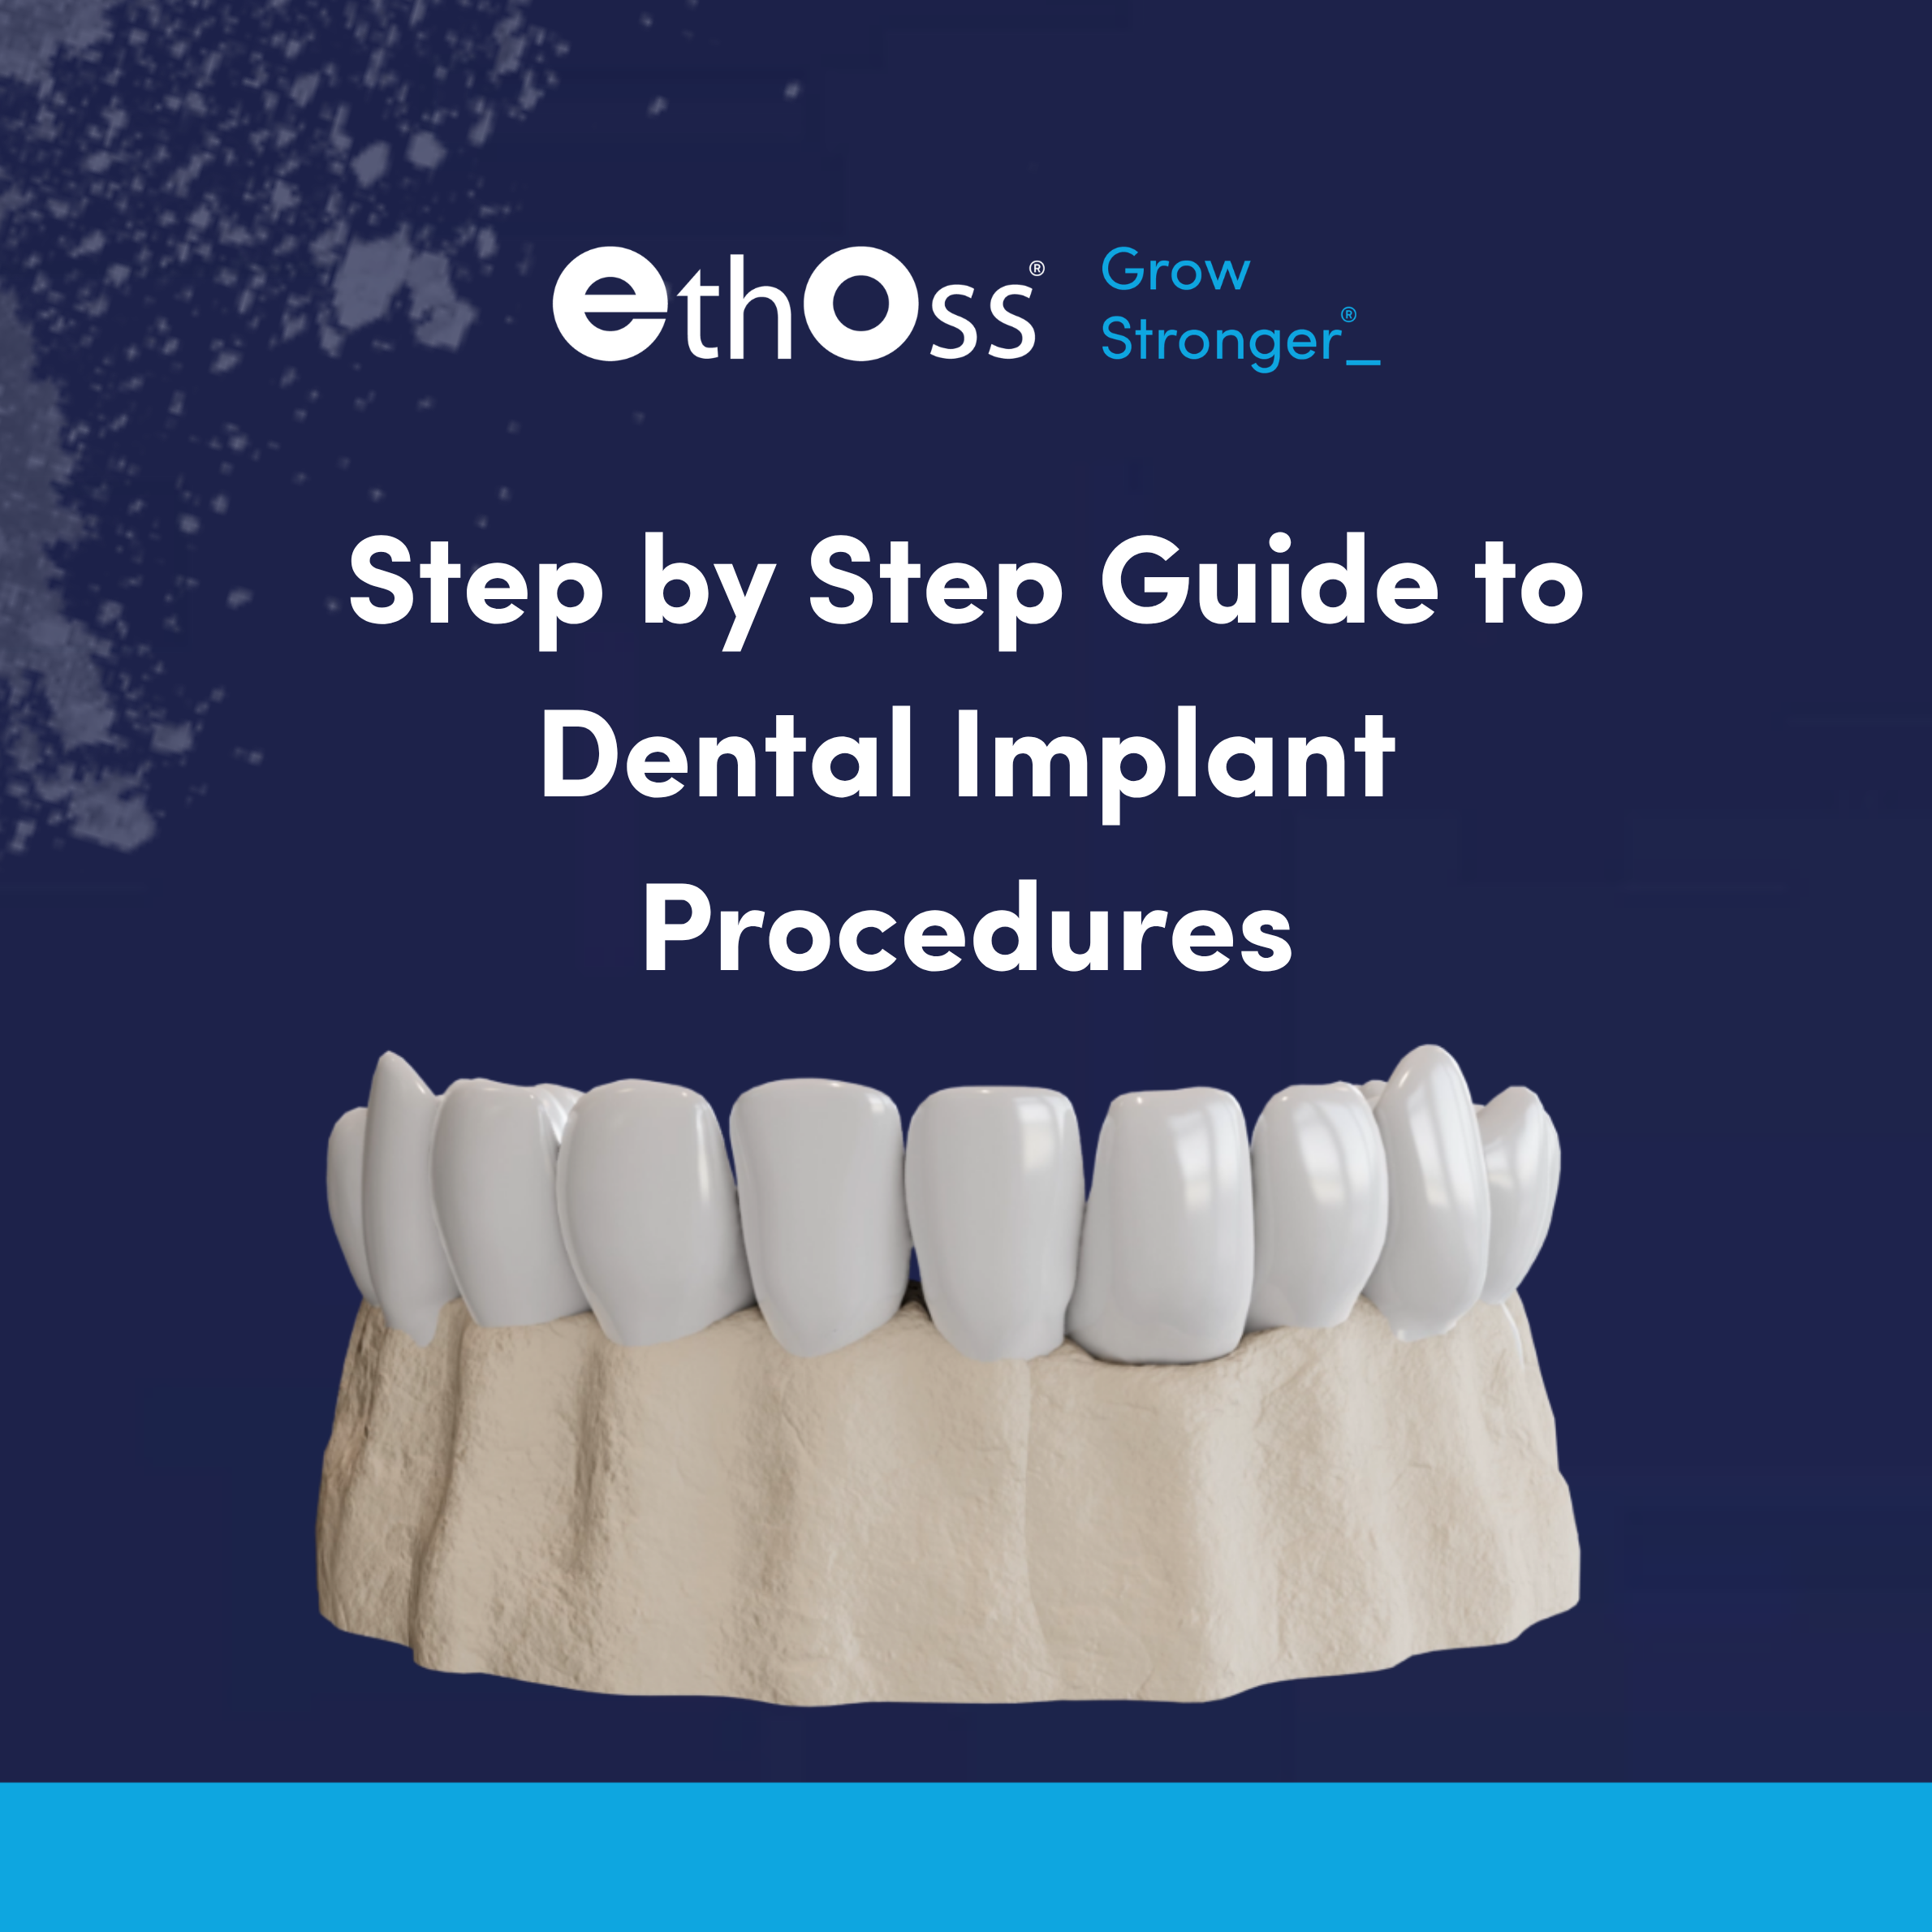
Step-by-Step Guide to the Dental Implant Procedure
Dental implants are a long-term solution for replacing missing teeth, offering both functional and aesthetic benefits. In this guide, we’ll walk through the entire dental implant process step by step, so you know exactly what to expect from start to finish.
Step 1: Initial Consultation and Assessment
The journey begins with a consultation with your dentist or implant specialist.
During this visit:
- Your oral health is evaluated
- X-rays or scans are taken
- A personalised treatment plan is created
This step ensures you're a good candidate for dental implants.
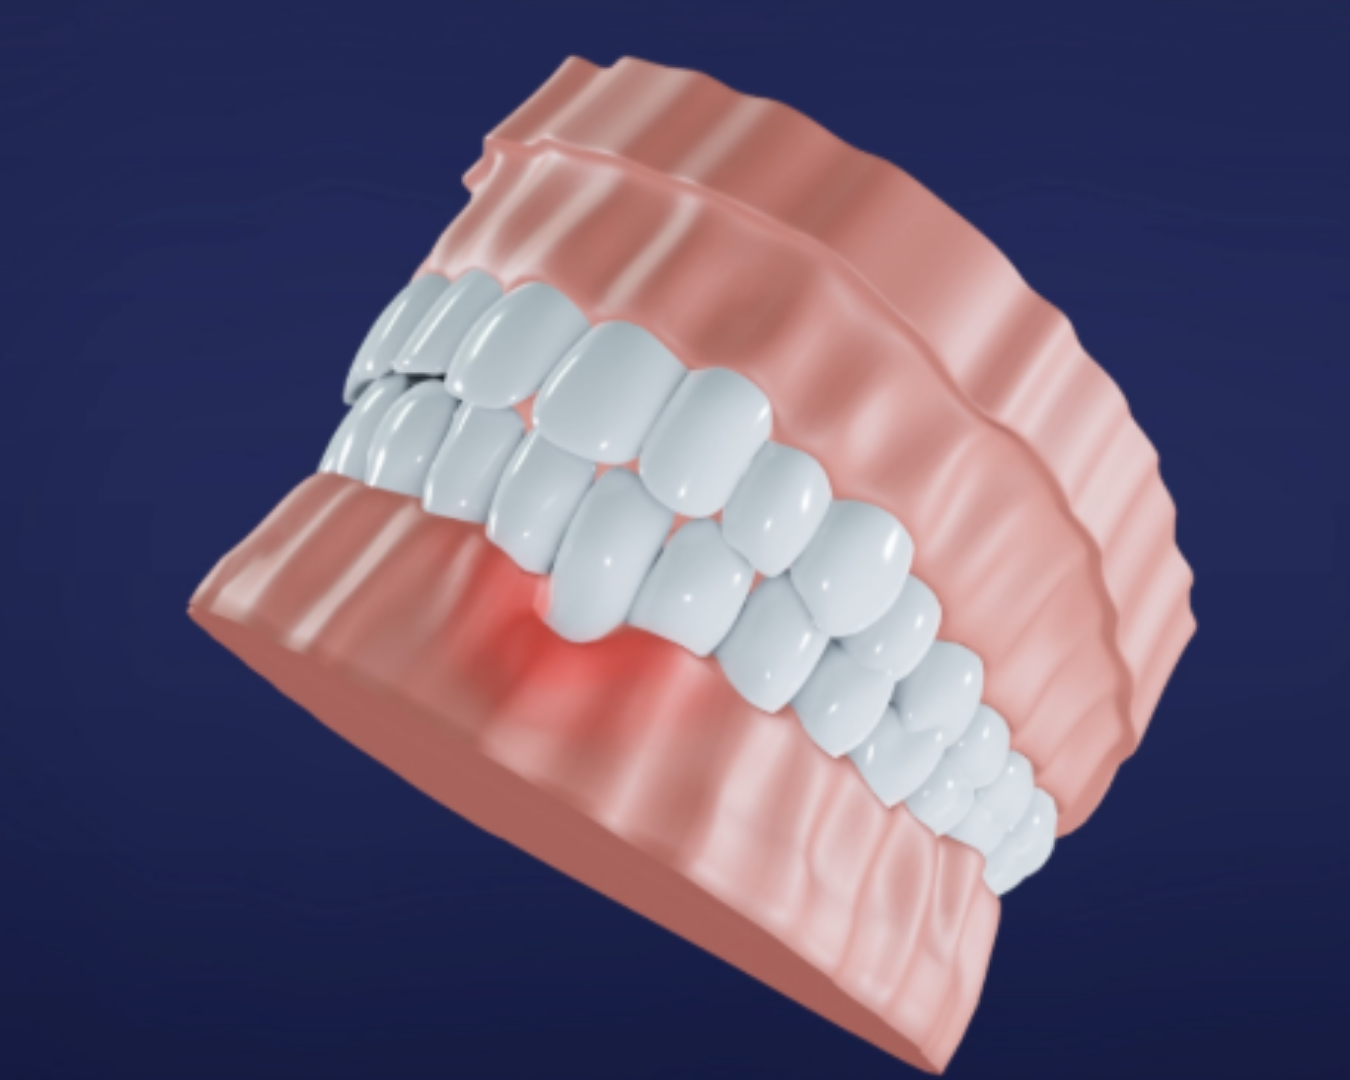
Step 2: Tooth Extraction (If Needed)
If you still have a damaged or failing tooth in place, it will be carefully removed.
This is usually done under local anaesthetic.
Healing may be required before moving to the next stage, consult with your dentist for specific timelines for your individual case.
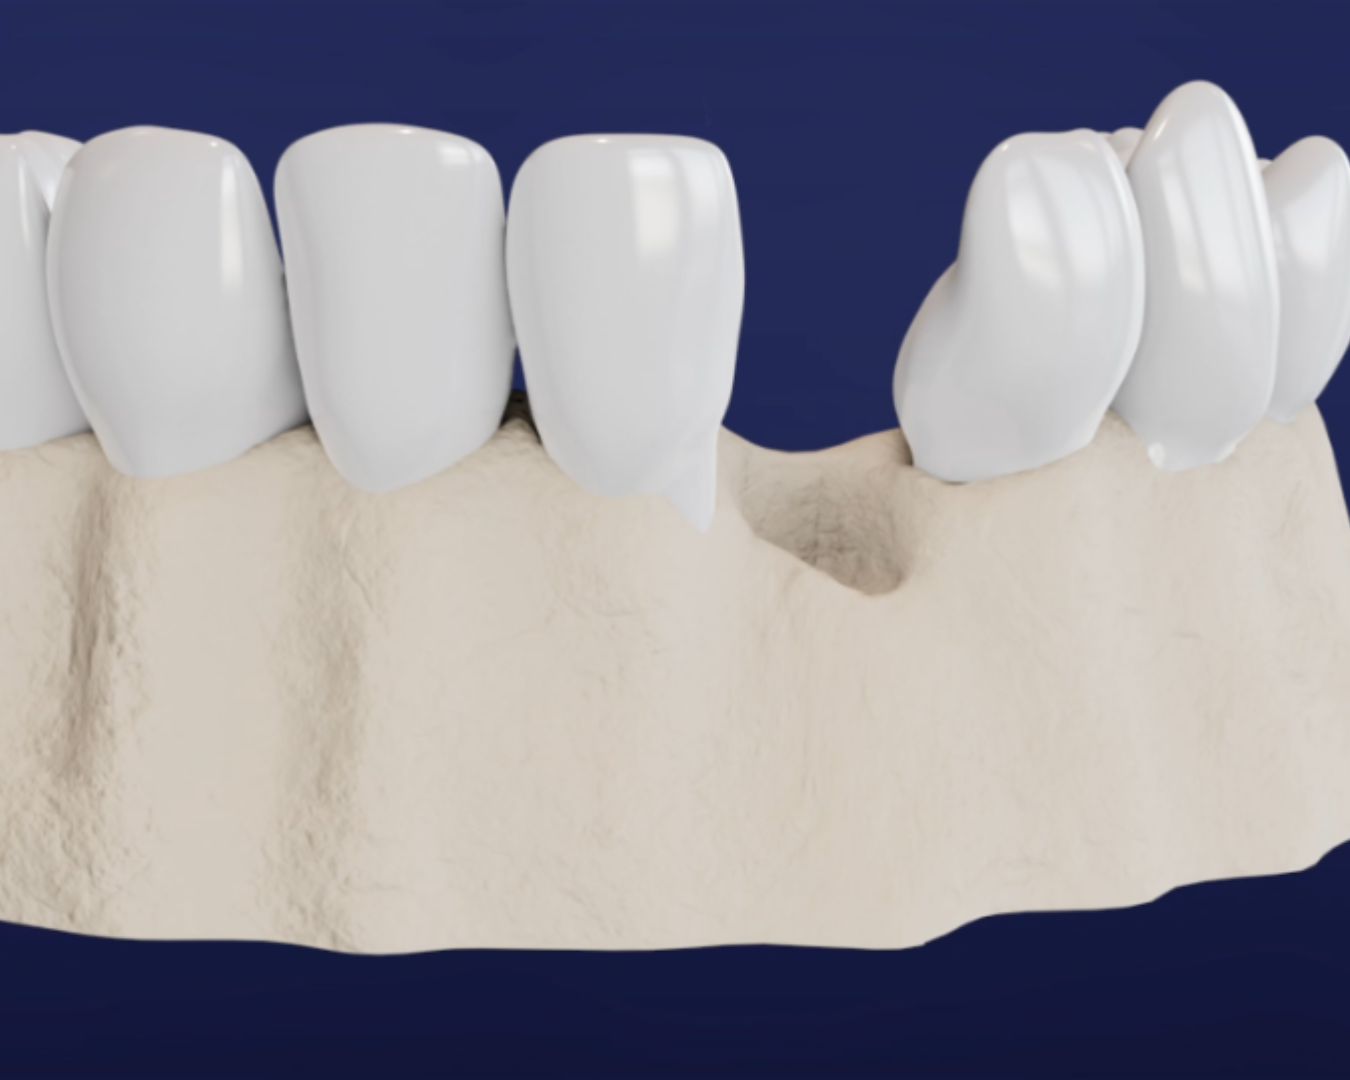
Step 3: Bone Grafting (If Required)
If your jawbone isn’t strong or thick enough, a bone graft may be necessary.
Bone graft material is added to strengthen the area and help support the implant securely. Bone grafting can be performed immediately after extraction within the same dental session. The healing time can vary depending on the case.
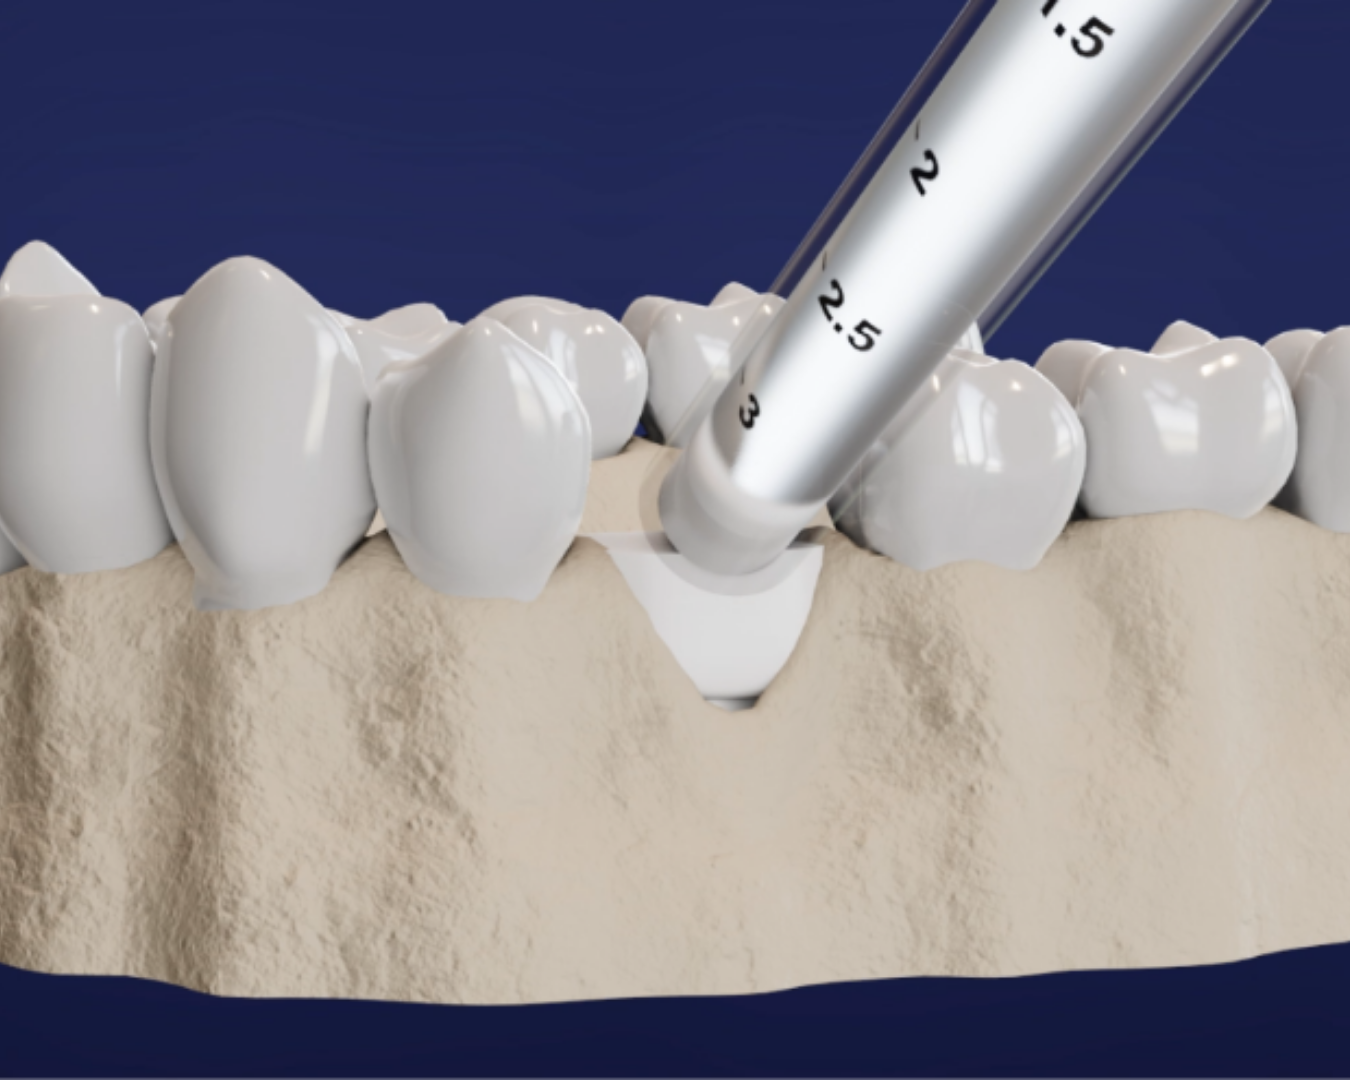
Step 4: Implant Placement Surgery
This is the main part of the dental implant procedure.
An implant (usually titanium) is placed into the jawbone. The implant acts as the root of your new tooth. This procedure is usually done under local anaesthetic to aid with pain relief. In some cases, immediate placement of the implant is possible. This could mean the extraction, bone grafting and implant placement can be performed within the same session.
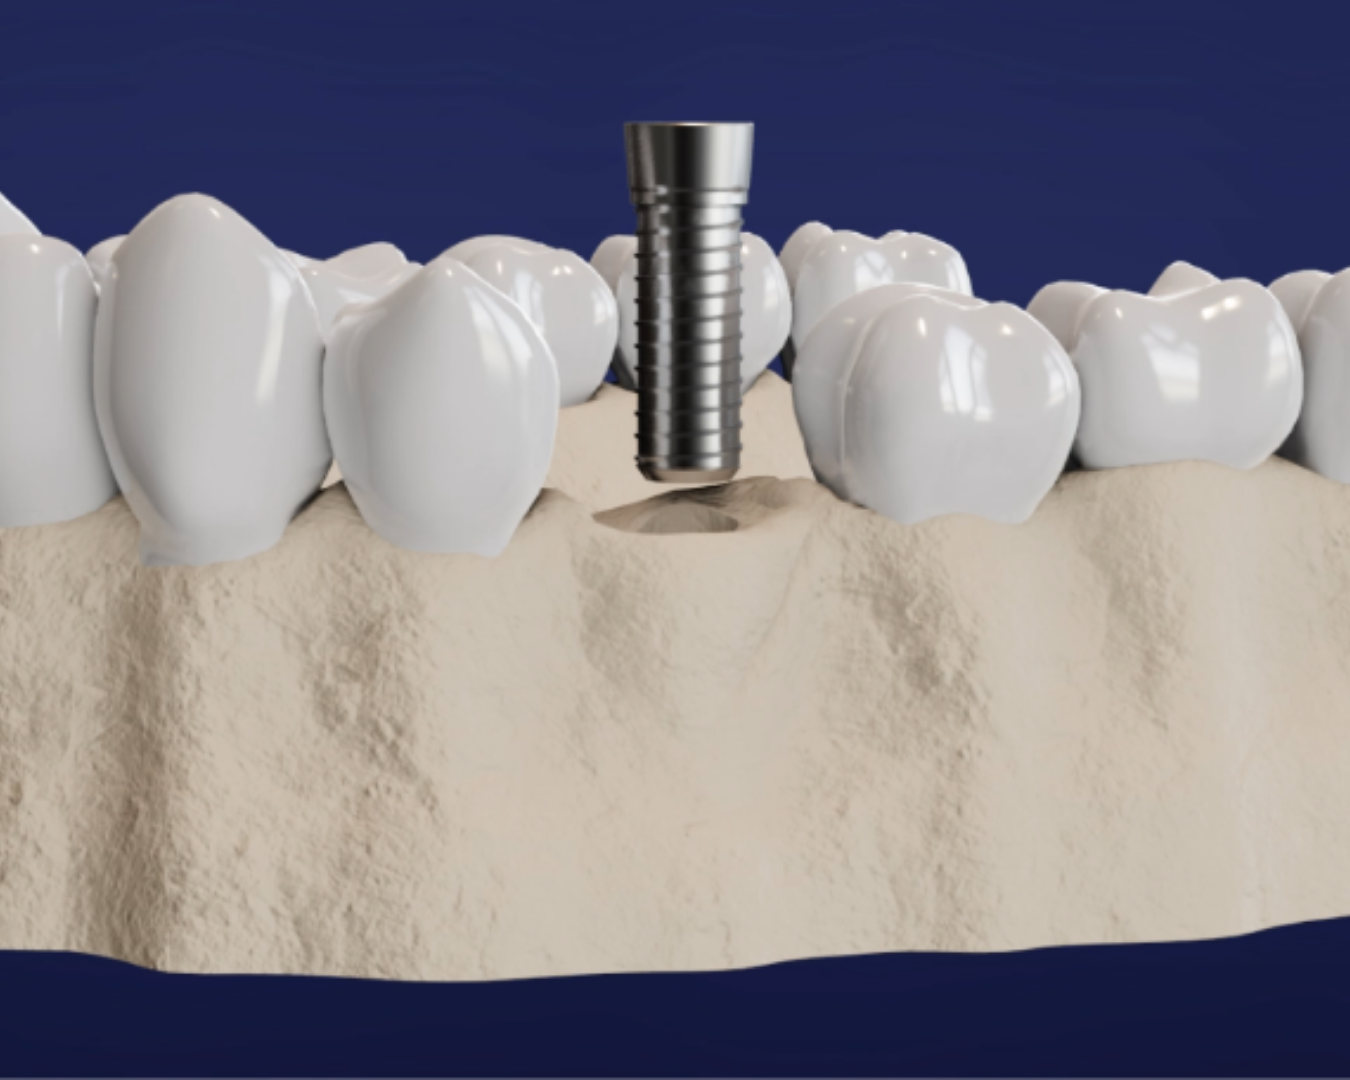
Step 5: Healing and Osseointegration
After placement, your implant needs time to fuse with the bone — a process called osseointegration.
This can take several weeks to a few months. During this time, the implant becomes stable and secure.
After placement, your implant needs time to naturally bond with the jawbone. This vital healing phase is called osseointegration.
While older grafting techniques required long waiting periods, modern regenerative materials like EthOss optimise this timeline. Clinical studies show that significant, robust new bone forms around the site by the 12-week mark. By three months, the implant is typically exceptionally stable, secure, and ready for the next phase. [i]
Step 6: Abutment Placement
Once healing is complete:
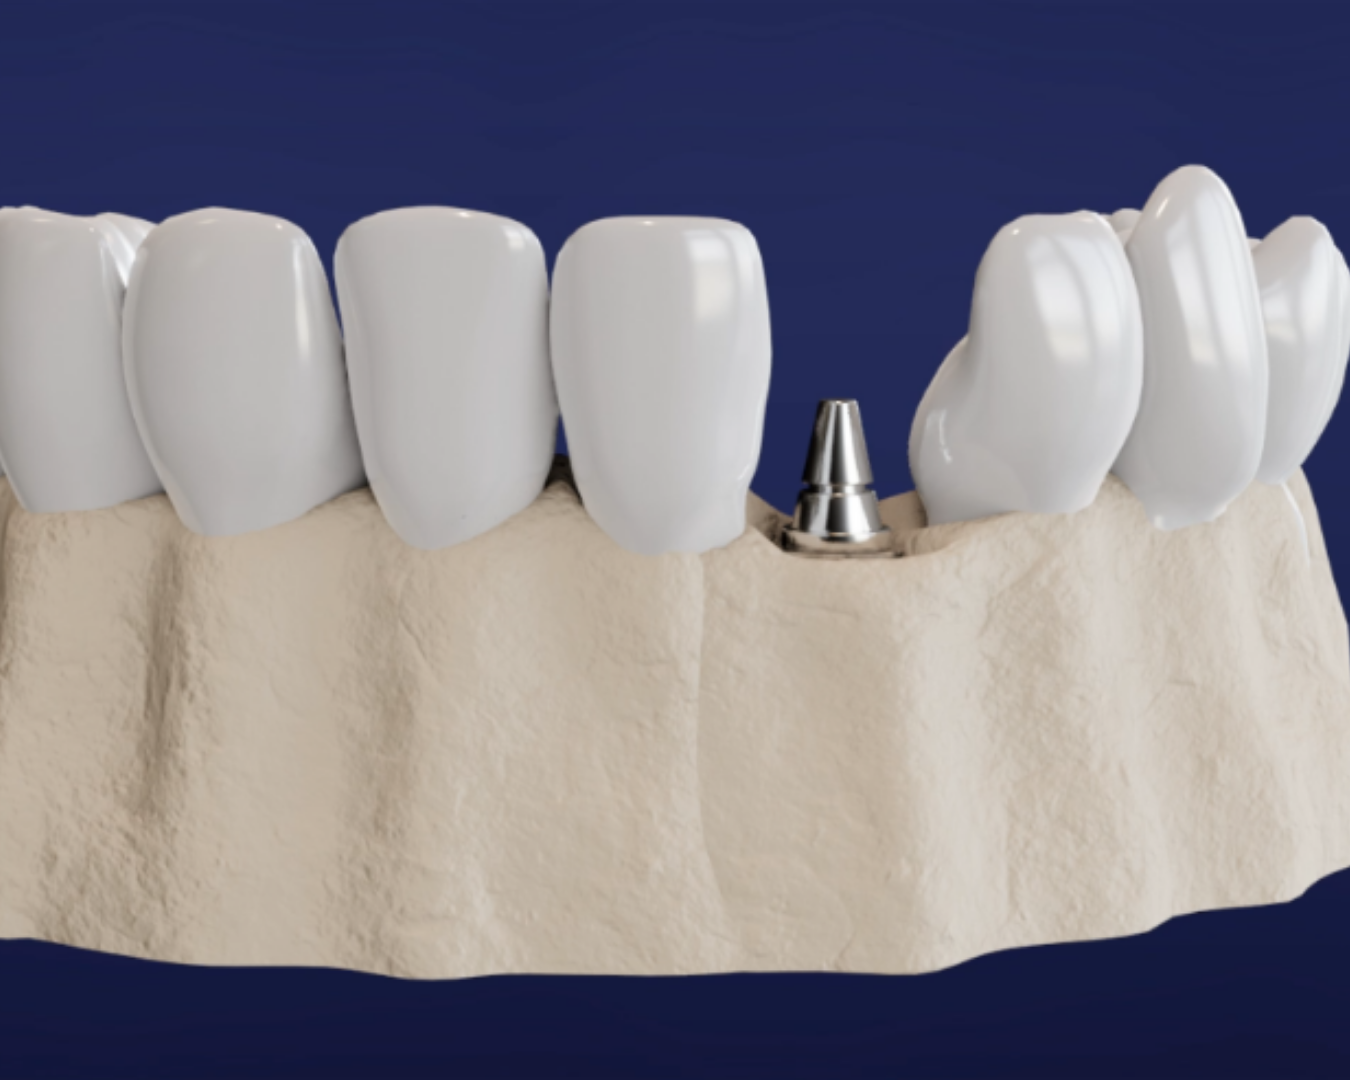
- A small connector piece (abutment) is attached to the implant.
- This will hold the final crown in place.
- Minor surgery may be required to expose the implant.
Step 7: Crown Placement
The final step is adding your new tooth. A custom-made crown is fitted onto the abutment, designed to match your natural teeth. Your smile and bite will be fully restored!
Tips for a Successful Implant
- Maintain good oral hygiene
- Attend all follow-up appointments
- Avoid smoking during healing
- Follow your dentist’s aftercare instructions
Conclusion
Dental implants are a reliable and natural-looking solution for missing teeth. While the process takes time, the end result is a strong, permanent replacement that can last for many years.
Sources:
[i] Publications